
Within MicroSale Version 9.0.300 or higher you have the ability to email the customer their receipt.
How to send a receipt by email directly from the POS
- When you close a check for an order, a prompt will appear, asking if you wish to email the receipt to the customer
- After choosing "Yes," type in the email address of the recipient using the onscreen keyboard. Double-check with the customer to ensure the email address is correct
Example Email Receipt
An email immediately sends to the recipient with the receipt as a PDF attachment. 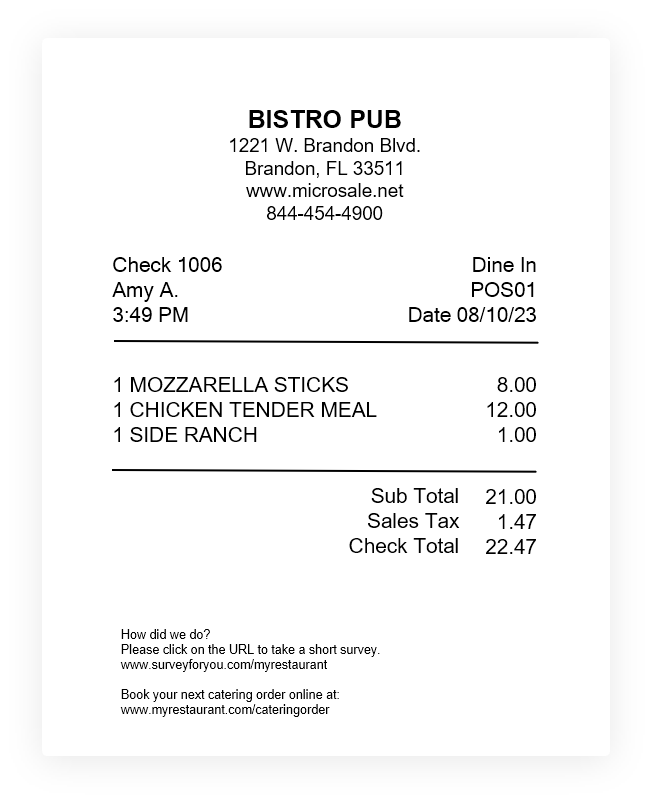
The email sender and subject line are based on your outgoing SMTP email settings.
Note:
To enable email functionality, the outgoing SMTP email must be configured in the back office register options.
Enabling "email receipt" prompt
- To enable go to Managers Menu > Register Setup > Terminal Configuration > Register Options > Printer/Cash Drawer > Advanced Options
- Tick the option, “Turn on prompt to email or text receipt to customer"
- In the dropdown menu, select Email
- Then Save and Exit
Note: to use text receipts, please subscribe to the Twilio integration.
Creating a customized message for Emailed Receipts
In Versions 9 and 10, you can print a custom message at the bottom of all emailed customer receipts; such as: Reminders of Catering, Specials, or Surveys.
- Go to the Managers Menu > Register Setup > System Configuration
- From the toolbar at the top, select “Misc. Utilities”
- Select “Invoice Message”
- A window will display to allow text entry, you must have a physical keyboard attached to the terminal.
- Select “Save” when finished
Note: MicroSale will create a new “Invoice.ini” file that can be opened within Notepad. This file contains the new message created within the “Invoice Message” area and allows for editing of the receipt message outside of MicroSale.