|
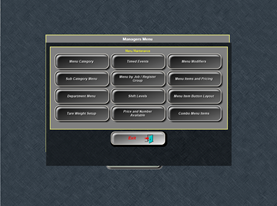
1. Select Menu Item Button Layout
|
|
|
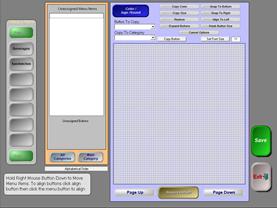
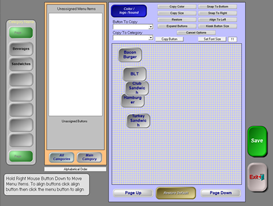
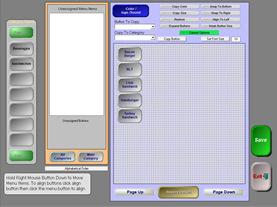
The Button Layout Screen |
|
|
2. Select the appropriate category on the left side of the screen.
You should see all of your saved items in the white box under “Unassigned Menu Items”.
(Like categories, you can have menu items saved in the system without making them accessible on the Order Screen – this is useful for rotating specials or seasonal items).
|
|
|
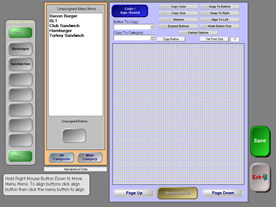
3. Select an item that you want to add to a button. (left click)
|

|
|
4. Add the menu item on an unassigned button (left click)
|
|
|
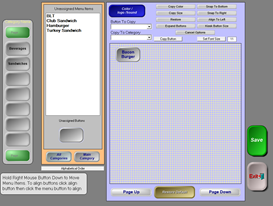
5. Drag the button to the screen (holding a right click) |
|
|
6. Continue until all items are on the screen That looks messy, doesn’t it? Let’s straighten up the buttons!
|
|
|
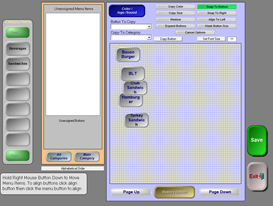
Use your top button as your ‘axis’ point – meaning this is your “base” menu item for alignment. 7. (Left Click) Select Snap To Bottom
|
|
|
8. Left Click on your top button – in the example, Bacon Burger (the system now triggers this is your base item) Now left click on all items that you want to snap under it. If you mess up, select Cancel Options and start again.
|
|
|
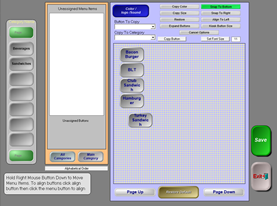
Now your items should be perfectly aligned. When you are done aligning your buttons, select Cancel Options – otherwise the “Snap to Bottom” trigger will stay on.
|
|
|
Is the text wrapping on the buttons?
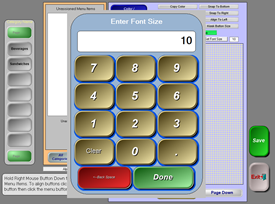
Changing the font size will help. 1. Select Set Font Size – and type in 9 or 10 (11 is the default)
|
|
|
2. (left click) double click all buttons that should use a font size of 10.
|
|
|
3. Select Save when you are ready to leave the screen – if you select Exit first, you will lose your changes!!!
|
|