
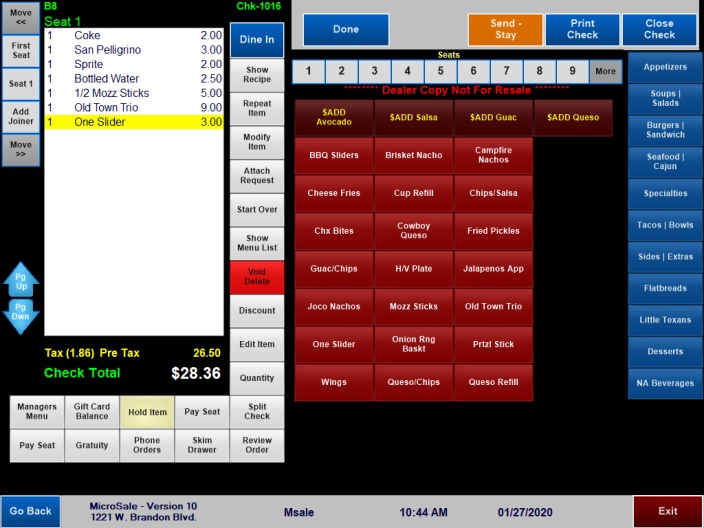
Before items send to the kitchen, you can put items on hold to send to the kitchen/bar at a later time. This is ideal when all items are entered at once but some items need to send to the kitchen/bar at a later time.
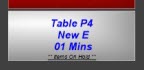
When items are on hold, the check color turns gray and “Items on Hold” is displayed on the check. On the order screen, each held item shows an “h-“.
The hold function can be used in full service and quick bar configurations only. The hold function will not work in a Quick Service configuration or on Express Orders in a Full Service configuration.
Holding and Releasing Items (to the kitchen or bar)
- After items are entered but before they are sent to the kitchen, select Hold Item. (Items sent to the kitchen are red with an asterisk)
-
If you are using the auto-release timer, enter in the number of minutes to hold the item. If you select “Done” without entering a number, the items will only hold for 1 minute. After entering the number of minutes, proceed to step #3>>>
- Touch the item(s) to hold. An “h-“ signifies the item is held, if the wrong item is selected, touch the item again to deselect
- Select Done when complete
- To release the items to the kitchen before the timer ends, select the check and touch the items with an “h-“ to release
When items are on hold, the check turns gray and shows “Items on Hold” on the check
Setting up your system for holds
Part 1
To enable holds in the system, set the following option(s) on each terminal that needs the feature:
- Managers Menu > Register Setup > Terminal Configuration > Full Service > Turn on menu item holds > Save > Exit
- To have holds release automatically after a selected number of minutes, also enable the option, “Set terminal to auto release items on hold” > Save > Exit. If you use this option, employees must always use the timer. However, you can manually release holds at any time before the timer ends.
Part 2
After the register options have been set, add the Hold Item function button to the order screen:
- Managers Menu > Register Setup > Terminal Configuration > Edit Order Screen Buttons > find Hold Item in the one of the two columns of options and add it to an unoccupied button (if all buttons are occupied, replace one of the options that is not used). Save and Exit.
- Function buttons deploy to all terminals; you will only need to add the function button once.
- Select System Refresh on the Manager Menu on each terminal to update the changes.
- Function buttons deploy to all terminals; you will only need to add the function button once.